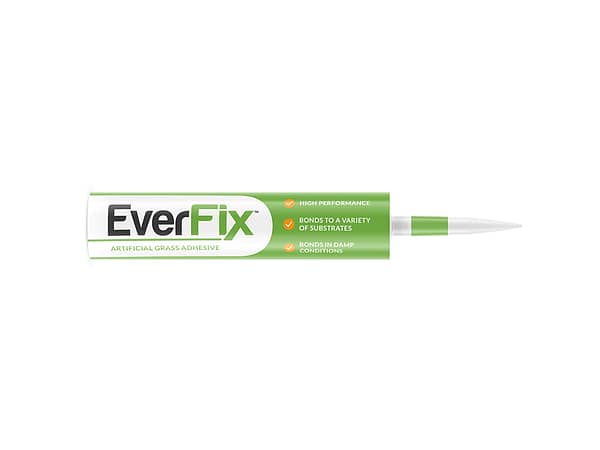
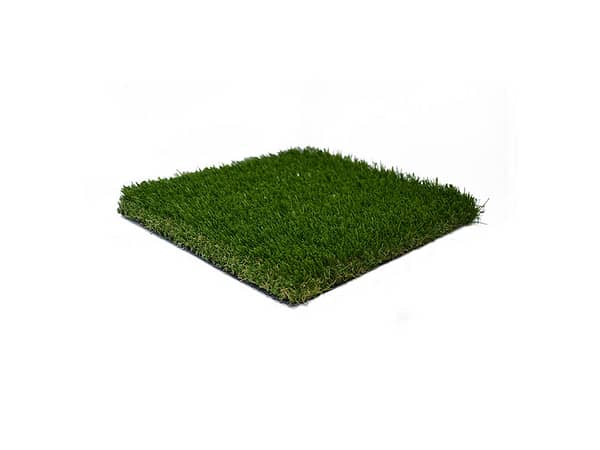
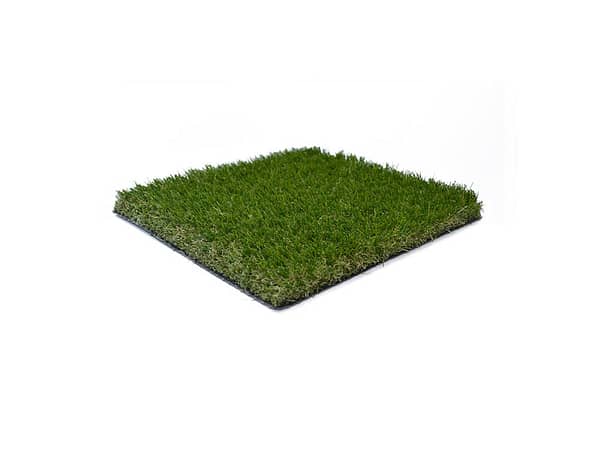
EverFix ULTRA Adhesive

RRP:

£7.99

High strength adhesive – used to adhere perimeter edge systems such as VertEdge to an artificial grass surface. Each tube contains enough adhesive to secure a 12m edge.


Description

EverFix Ultra is a PU based high performance adhesive and can be used for jointing artificial grass on high-use areas and for perimeter fixings to edging systems, due to its superior strength.

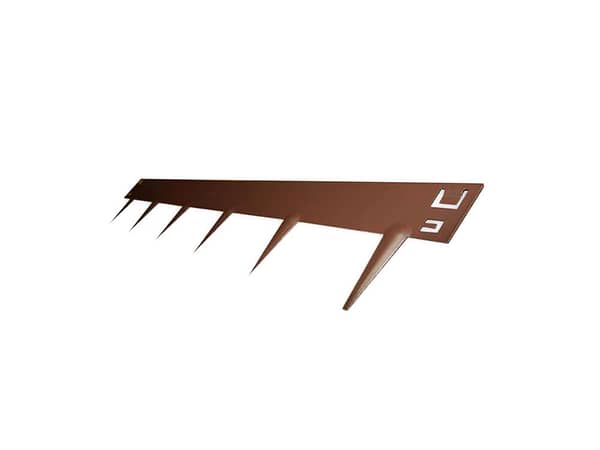
Can be used to adhere VertEdge to an artificial grass surface. Provides a 100% fully secured perimeter finish. No nails required.

Installation

Dry Fix Method

  1. Remove the existing turf lawn and excavate the area to a depth of around 75mm – 100mm depending of the artificial grass thickness and ground conditions.
  2. Apply a Type 1 MOT aggregate over the entire area to a depth of around 50mm – 100mm again depending on artificial grass thickness and ground conditions, rake out to create an even surface. The Type 1 MOT aggregate level should be set 20- 30mm below the finish height.
  3. Compact aggregate with a vibrating compactor plate machine, ensuring the edges are tightly compacted. Any hard to reach areas and corners not accessible to the compactor machine should be compacted with a heavy tamper.
  4. Once the Type 1 MOT is compacted with the correct perimeter finish depth, Vertedge is ready to be installed.
  5. Starting from the corners, cut & mitre Vertedge using a hacksaw and a mitre box or a multi tool with a plastic segmented blade, always start from a corner working towards the centre of a side, then cut Vertedge once the 2 pieces meet.
  6. When installing Vertedge up to a curved finish, simply cut out the thinned-out tabs/sections in front of the V hinge with sharp tin snips. This will allow Vertedge to form to any curve/radius required. Take out the tabs as required to suit each curve/radius.
  7. Set Vertedge around 10mm away from the perimeter edge, again depending on the artificial grass thickness.
  8. Fix Vertedge using 75mm – 150mm galvanised round head nails (deeper for soft ground) through the fixing holes as required.
  9. Optional, subject to ground conditions – apply a dry mix of cement at perimeters mixed with type 1.
  10. Once Vertedge has been installed around the perimeter of the area, proceed to apply the 6mm to dust granite layer.
  11. Rake out the granite over the entire area pushing the granite stone in to the Vertedge cavity, it is recommended to mix cement dust with the granite stone (ratio 4:1) for the section covering the base of Vertedge (around 100mm from the cavity) bringing the dry granite mix flush with the back of Vertedge leaving the top section exposed.
  12. Compact the granite. More granite may need to be applied once compacted to ensure the granite is flush with the back edge of Vertedge.
  13. Install non-woven weed membrane over the granite.
  14. The artificial grass is now ready to be installed.
  15. Lay out the artificial grass and leave to relax.
  16. Cut the artificial grass around 5-10mm over the finish edge/fence/wall etc.
  17. Once the artificial grass has been cut around the whole area, carefully pull back the grass around 300mm away from the Vertedge.
  18. Using the specialist Vertedge adhesive, apply a 3-5mm bead of adhesive on the exposed top section of Vertedge around the whole area.
  19. Once the Vertedge adhesive has been applied, carefully fold back the artificial grass.
  20. Proceed to press the artificial grass around the perimeter ensuring good adhesive contact between Vertedge and the artificial grass backing.
  21. Using a bolster and a rubber mallet, tuck down the artificial grass into the back edge gap between Vertedge and the perimeter finish.
  22. The artificial grass is now 100% fixed & secure around the perimeter, ready to be sand filled and brushed.

Quick Dry Cement Method

  1. Remove the existing turf lawn and excavate the area to a depth of around 75mm – 100mm depending of the artificial grass thickness and ground conditions.
  2. Install a geotextile membrane over the entire area.
  3. Mix a quick set cement with sharp sand @3:1 ratio
  4. Using a screed trowel spread the cement around the perimeter of the area approximately 100mm wide and a minimum depth of 50mm, (if perimeter finish heights need to be brought up, lay down type 1 mot first, to the required depth then put the cement over the type 1 mot. ensure the cement has a smooth finish.
  5. Note: When finishing against paving or a patio etc, set the cement level below the finish height at the same depth as the grass thickness.
  6. Apply a Type 1 MOT aggregate over the entire area and up to the cement border to a depth of around 50mm – 100mm depending on cement finish height and ground conditions, rake out to create an even surface. Compact aggregate with a vibrating compactor plate machine. Areas not accessible to the compactor machine should be compacted with a heavy tamper.
  7. Once the Type 1 MOT is compacted, Vertedge is ready to be installed.
  8. Starting from the corners, cut & mitre Vertedge using a hacksaw and a mitre box or a cordless mitre saw, or a multi tool with a plastic segmented blade, always start from a corner working towards the centre of a side, then cut Vertedge once the 2 pieces meet.
  9. Once vertedge has been mitred and cut to the required lengths, apply a 3-5mm bead of Vertedge adhesive to the bottom/underside base section .
  10. Turn Vertedge over and press into postion, leaving a 10-15mm gap at the front edge.
  11. When installing Vertedge up to a curved finish, simply cut out the thinned-out tabs/sections in front of the V hinge with sharp tin snips. This will allow Vertedge to form to any curve/radius required. Take out the tabs as required to suit each curve/radius.
  12. Once Vertedge has been installed around the perimeter of the area, proceed to apply the 6mm to dust granite layer.
  13. Rake out the granite over the entire area pushing the granite stone in to the Vertedge cavity, it is recommended to mix cement dust with the granite stone (ratio 4:1) for the section covering the base of Vertedge (around 100mm from the cavity) bringing the dry granite mix flush with the back of Vertedge leaving the top section exposed.
  14. Compact the granite. More granite may need to be applied once compacted to ensure the granite is flush with the back edge of Vertedge.
  15. The artificial grass is now ready to be installed.
  16. Lay out the artificial grass and leave to relax.
  17. Cut the artificial grass around 5-10mm over the finish edge/fence/wall etc
  18. Using the specialist Vertedge adhesive, apply a 3-5mm bead of adhesive on the exposed top section of Vertedge around the whole area.
  19. Once the Vertedge adhesive has been applied, carefully fold back the artificial grass.
  20. Proceed to press the artificial grass around the perimeter ensuring good adhesive contact between Vertedge and the artificial grass backing.
  21. Using a carpet bolster, tuck down the artificial grass into the back gap between front edge of Vertedge and the perimeter finish.
  22. The artificial grass is now 100% fixed & secure around the perimeter, ready to be sand filled and brushed.

Related Products

  • EverFix Adhesive

    Rated 0 out of 5
    £5.49
    Read more
  • Artificial grass joint tape angled

    Joint Tape

    Rated 0 out of 5
    £9.99
    Read more
  • Shockpad 25mm

    Rated 0 out of 5
    £22.99
    Read more
  • Artificial Grass Edging

    Edging

    Rated 0 out of 5
    £39.99
    Read more

Select your grass

Don't Leave Without A FREE SAMPLE

Request a free sample of our artificial grass